If you’re considering enhancing your windows with new install shades and blinds, you might wonder if this is a project you can tackle on your own. The good news is that installing shades and blinds is a DIY-friendly task, and with the right tools and guidance, you can achieve professional-looking results without needing to hire a professional. This guide will walk you through the process, offering tips to ensure a smooth installation.
Why Install Shades and Blinds Yourself?
Installing shades and blinds yourself can save you money and give you the satisfaction of completing a home improvement project on your own. It allows you to customize your window treatments according to your schedule and personal preferences. Plus, you’ll gain valuable skills that can be used in future projects around the home.
Tools and Materials You’ll Need
Before you begin, gather the necessary tools and materials. Here’s a checklist to get you started:
- Measuring tape
- Pencil
- Screwdriver (or a power drill with appropriate bits)
- Level
- Ladder or step stool
- Shades or blinds (customized to fit your windows)
- Mounting brackets (usually included with your purchase)
- Screws and wall anchors (if needed)
Step 1: Measure Your Windows
Accurate measurements are crucial for a successful installation. Measure the width and height of your window to ensure that your shades or blinds fit perfectly. If you’re mounting the shades inside the window frame, measure the inside dimensions. For outside mounts, measure the area you want to cover, adding a few extra inches on each side for better light control.
Step 2: Mark the Placement
Once you have your measurements, use a pencil to mark where the mounting brackets will be installed. Use a level to ensure your marks are straight, which will keep your shades or blinds aligned properly. This step is critical for an even and polished look.
Step 3: Install the Mounting Brackets
With your marks in place, you can now install the mounting brackets. Depending on the material of your window frame, you may need to pre-drill holes to avoid splitting the wood. Secure the brackets with screws, ensuring they are tight and sturdy enough to hold the weight of the shades or blinds.
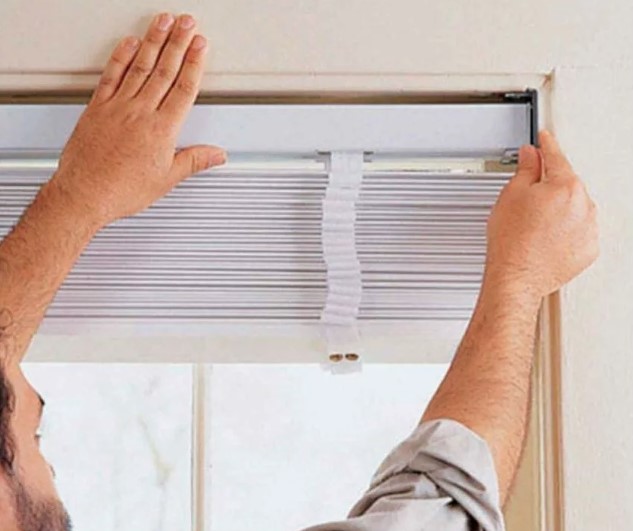
Step 4: Attach the Shades or Blinds
After the brackets are installed, attach the shades or blinds according to the manufacturer’s instructions. This step usually involves snapping the shades or blinds into place or securing them with additional hardware. Make sure they operate smoothly by raising and lowering them a few times.
Step 5: Final Adjustments
Once installed, take a moment to make any final adjustments. Ensure that the shades or blinds are level and that the brackets are secure. If needed, tighten any screws or make slight modifications to improve the fit and function.
Benefits of DIY Installation
By installing your shades and blinds yourself, you gain control over the entire process. With Direct Shopfront, you can choose when and how the installation is done, without having to wait for an appointment. Additionally, the cost savings can be significant, especially if you have multiple windows to cover.
Conclusion
Installing shades and blinds yourself is a manageable project that can enhance the look and functionality of your home. With a few basic tools and a bit of patience, you can achieve a professional-quality installation. Whether you’re updating a single room or outfitting your entire home, taking on this project yourself is a rewarding and cost-effective solution.